Existing member? Log in and continue learning

See if you like it, start the course for free!

Unlock full course by purchasing a membership
Creating your first Ionic application
Creating your first Ionic application
Let’s jump straight into the action now. We are going to loop back soon and start building a solid foundation of the fundamental Ionic and Angular concepts, but to get started, we are just going to jump right into generating a new Ionic application. This should help give some context to the topics we are going to be talking about soon, and if you want, you can use this application to poke around and try things as we talk about them. Don’t worry about breaking things, just experiment and have fun - we will be deleting this application anyway and you can always just generate a new one. Better to break the app than to be too afraid to touch it!
ionic startThis will prompt you with some options about how you want to create your Ionic application. You can choose whatever suits you best, but here is the options I would recommend:
? Use the app creation wizard? (Y/n): n? Framework: Angular? Project name: my-app? Starter template: blankAs you become more familiar with the Ionic CLI and its options, you might choose not to use the interactive prompts and just create the application directly. For example, I create almost all of my Ionic applications like this:
ionic start my-app blank --type=angularWhich gives the exact same result as supplying all the options we just did to the interactive prompt. It will create a new application using the blank template and Angular as the framework.
When your application begins creating you might also notice this message:
✔ Preparing directory ./my-app in 1.23ms✔ Downloading and extracting blank starter in 1.11s> ionic integrations enable capacitor --quiet -- my-app io.ionic.starter> npm i --save -E @capacitor/core@latestIonic installs Capacitor by default in newly generated applications, which is what we can use to access native functionality for iOS and Android. We aren’t going to worry about that just yet, we will talk about Capacitor later.
After waiting a little bit, you should now have a successfully generated Ionic application.
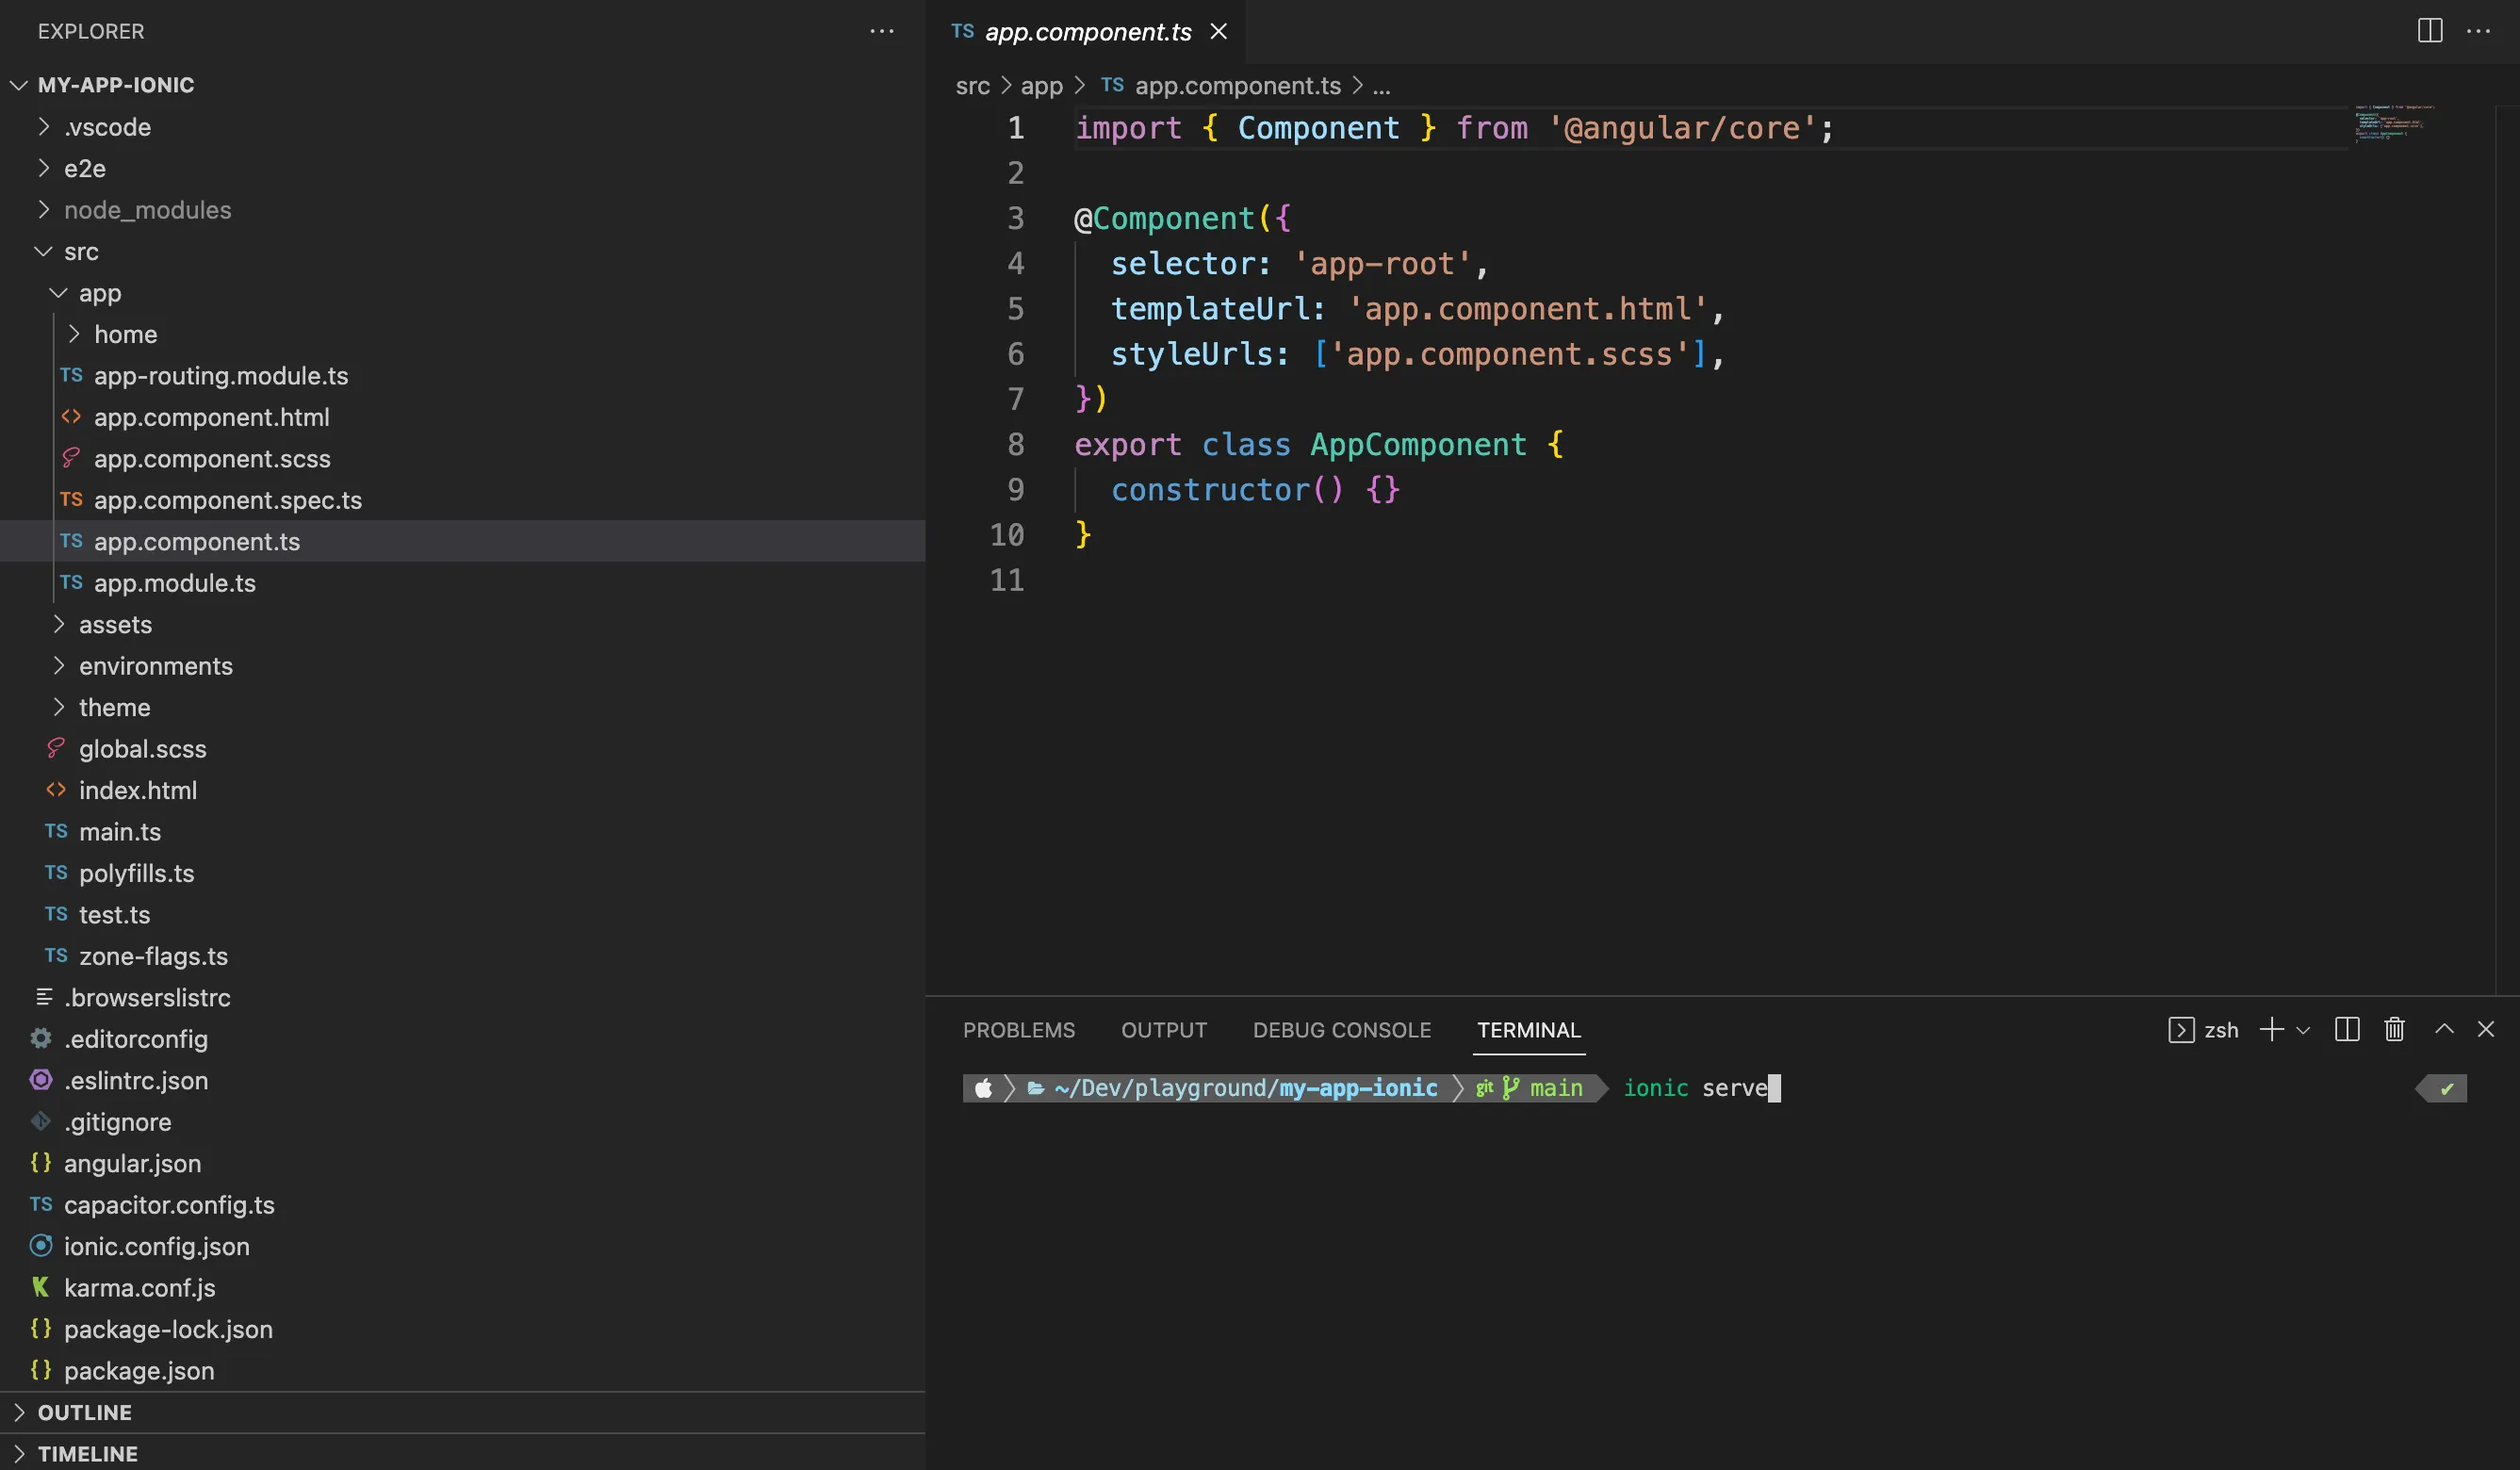
You can now open this newly generated project in a text editor or IDE of your choice. If you are using Visual Studio Code as we discussed in the last module, and have also enabled the code command, then you will be able to quickly open this newly generated project in VS Code by running the following command:
code my-appThen you can go to Terminal > New Terminal or hit Cmd+J to open a new terminal within VS Code. Now you can both edit your code and run commands all from the same window.

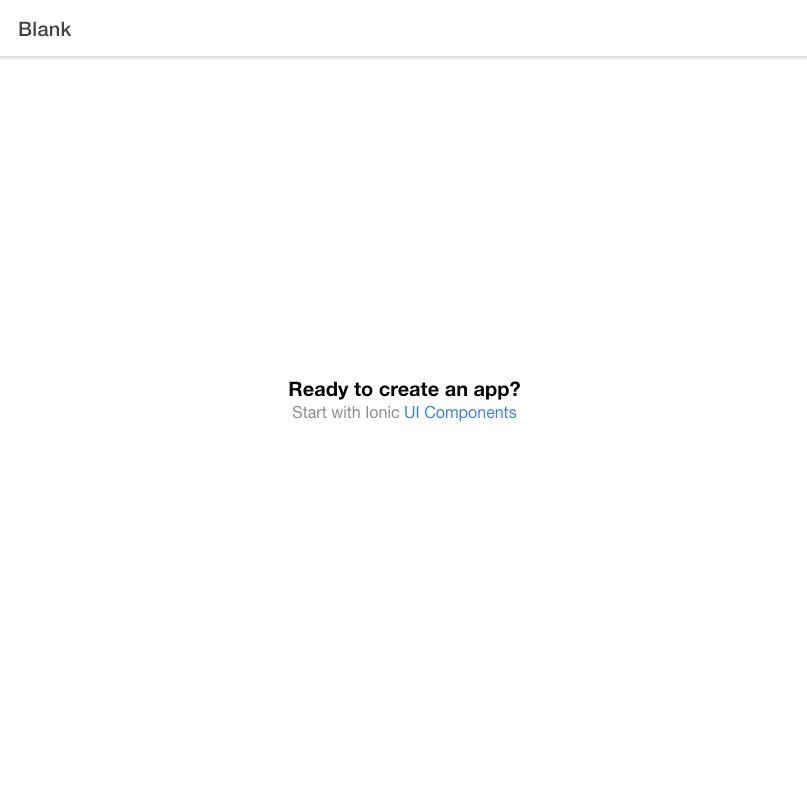
ionic serveYou should see something like this in the browser if you go to http://localhost:8100 (this should open automatically after you run the serve command):

In the next lesson, we are going to talk a little bit about the general structure of what we are seeing in this project. But first, just have a bit of a poke around yourself. See if you can change what you are seeing served in the browser.