Existing member? Log in and continue learning

See if you like it, start the course for free!

Unlock full course by purchasing a membership
Launching Native Views in Ionic
Launching Native Views in Ionic
We have covered the general process for passing data from our application to the native APIs and receiving data back. Another thing we can add to our bag of tricks is launching native views.
As you may know, the application that the user sees is generally our web code running inside of a Web View (which is a type of native view). However, we can also incorporate other native views into our application as well.
Whilst it is technically possible to sort of display a separate native view within our application (e.g. a native list that displays inside of our Ionic application) - this relies on a lot of hacky style code and I don’t generally recommend it. You should just focus on making your user interface nice using web code inside of the web view.
However, it is quite feasible to launch a separate native view on top of our web view. This could work especially well in situations where you want the user to go to the view and then come back from it - kind of like when you launch a pop up modal. Maybe the user launches it, selects something, and then goes back to the previous page. Or, maybe they launch a view to view some 3D model animation, and then close that view when they are done.
In this lesson, we are going to walk through how to display a native iOS list on top of our web view. The idea is that we will be able to call this code:
ListView.present({ items: ['My', 'item', 'array'],});To launch a view like this:
Lists with massive amounts of data can be one of the tricky things to pull off in an Ionic application. One of the biggest performance bottlenecks for a web-based application is having to deal with a large DOM (i.e. having lots of elements/nodes in your application). Naturally, if you want to display a list with hundreds or thousands of elements, you are going to have a large DOM.
Create the Plugin
Although we will be doing something a bit different here, we can still follow the same basic steps for creating a plugin. First, you will need to open Xcode:
npx cap open iosor
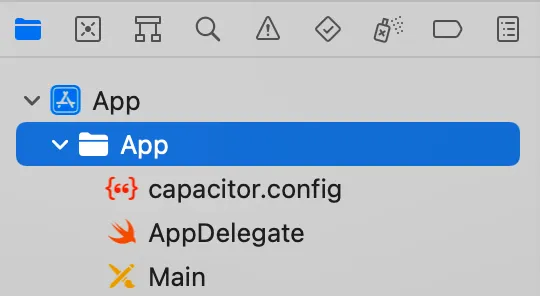
ionic cap open iosWithin XCode, you will need to expand App on the left, and then select the App target within that:

You can then right click it to create a new file - you should choose a
Swift file and name it something like ListViewPlugin.swift. You could then
add the following code to the file:
import Foundationimport Capacitor@objc(ListViewPlugin)public class ListViewPlugin: CAPPlugin, CAPBridgedPlugin {
    public let identifier = "ListViewPlugin"    public let jsName = "ListViewPlugin"    public let pluginMethods: [CAPPluginMethod] = [        CAPPluginMethod(name: "present", returnType: CAPPluginReturnNone)    ]
    @objc func present(_ call: CAPPluginCall) {        let items = call.getArray("items", String.self) ?? [String]()        let listView = TableViewController()        listView.items = items        DispatchQueue.main.async {            self.bridge?.viewController?.present(listView, animated: true)        }    }}
class TableViewController: UITableViewController { var items: [String] = [String]() override func viewDidLoad(){ super.viewDidLoad() tableView.register(UITableViewCell.self, forCellReuseIdentifier: "cell") } override func tableView(_ tableView: UITableView, numberOfRowsInSection section: Int) -> Int { return items.count } override func tableView(_ tableView: UITableView, cellForRowAt indexPath: IndexPath) -> UITableViewCell { let cell = tableView.dequeueReusableCell(withIdentifier: "cell", for: indexPath) cell.textLabel?.text = items[indexPath.row] return cell }}Thanks for checking out the preview of this lesson!
You do not have the appropriate membership to view the full lesson. If you would like full access to this module you can view membership options (or log in if you are already have an appropriate membership).